What to Do After Buying a Domain Name? The Ultimate Setup Guide for Business Owners
Securing your custom domain name is a major milestone for your business. Whether you registered a global address or secured a local extension, owning that piece of digital real estate officially sets your online journey in motion.
However, a domain name by itself is simply a digital address entry in the global Domain Name System. It does not automatically launch a functional website, route incoming emails, or capture potential clients on search engines.
If you recently completed your registration through our primary guide on Domain Registration for New Businesses in India, you might be asking: What comes next?
Transitioning a newly purchased domain into a fully operational, high-converting digital storefront requires systematic execution. Skipping crucial technical setup steps can leave your brand exposed to security vulnerabilities, email deliverability issues, and indexing delays on search engines.
This comprehensive guide outlines the exact, step-by-step technical roadmap you must follow after buying a domain name to build an authoritative, secure, and revenue-generating web presence.
New business owner? Start with our complete Domain Registration for New Businesses guide.
1. Connect Your Domain to Web Hosting
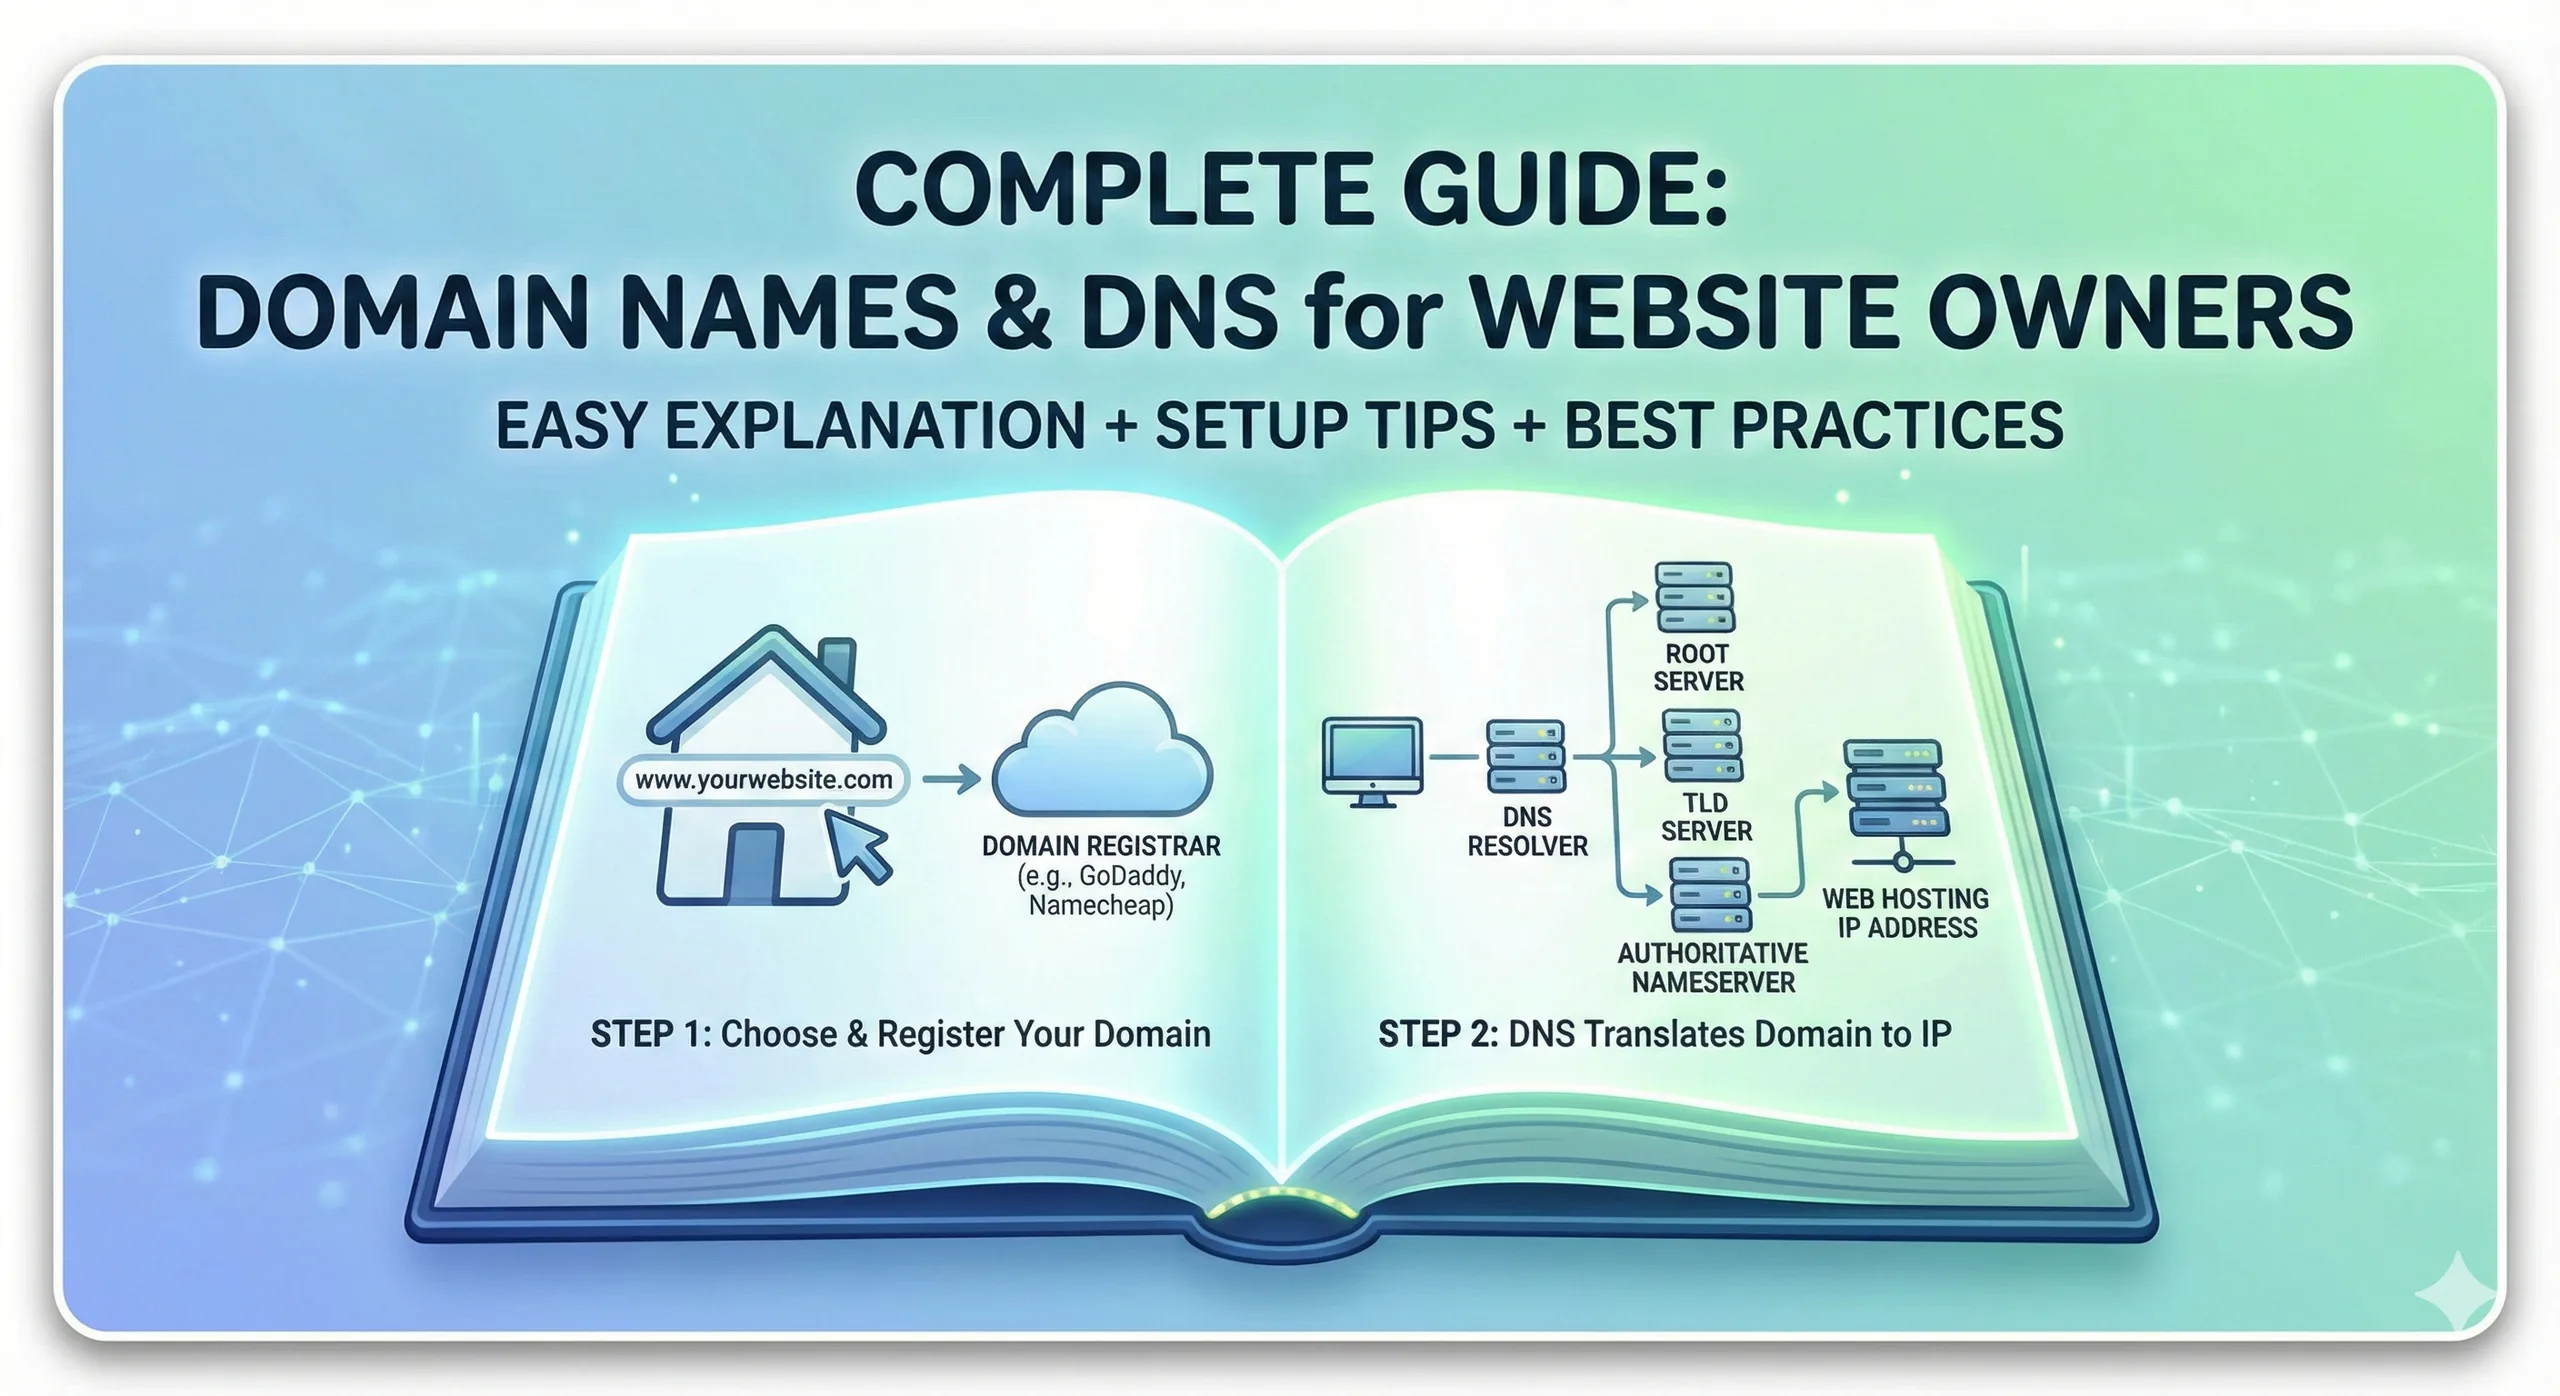
A domain name acts as your home address, but web hosting represents the actual physical land and building structure where your digital content resides. To make your website accessible to public visitors, you must link your domain name directly to a web hosting server.
Connecting your domain to hosting is accomplished by updating your Domain Name System settings. Depending on whether you purchased your domain and hosting from the same provider or separate entities, you will use one of two standard connection methods.
+-----------------------------------------------------------------------+
|                    DOMAIN TO HOSTING CONNECTION                       |
+-----------------------------------------------------------------------+
|  Method A: Nameserver Update (NS Records)                              |
|  Registrar DNS Control  -->  Point to Hosting Nameservers (ns1/ns2)   |
|                                                                       |
|  Method B: DNS Record Mapping (A Record)                              |
|  Registrar DNS Control  -->  Point A Record to Hosting Server IP      |
+-----------------------------------------------------------------------+
Option A: Updating Nameservers (Recommended for Most Setups)
When you purchase hosting from a dedicated provider, they assign you specific nameserver addresses (for example, ns1.hostingprovider.com and ns2.hostingprovider.com).
- Log into your domain registrar management portal.
- Locate the DNS or Nameserver management section for your domain.
- Select Custom Nameservers and replace the default values with your host's assigned nameservers.
- Save your changes and allow time for global DNS propagation.
Option B: Pointing via A Record (Advanced Setup)
If you prefer keeping your DNS management active at your domain registrar or through a performance network like Cloudflare, you can point your domain using an A Record.
- Obtain the dedicated static IP address of your hosting server.
- Open your registrar DNS Zone Editor.
- Create or edit the
@A Record and input your hosting server IP address. - Create a
wwwCNAME record pointing back to your root domain.
Understanding DNS Propagation Timelines
DNS changes do not happen instantaneously across the entire globe. When you update nameservers or A records, internet service providers worldwide must refresh their cached records.
This propagation window typically takes anywhere from 20 minutes to 48 hours. During this window, your domain may load unpredictably as network nodes update their routing tables.
Selecting the right hosting environment is critical for speed and stability. Explore our detailed evaluation on the Best Web Hosting for Small Business in India to select a high-performance hosting foundation for your enterprise.
2. Set Up Professional Business Email Accounts
Sending client proposals, invoices, and customer support communications from a generic @gmail.com or @yahoo.com address undermines corporate credibility. Setting up a dedicated business email address using your custom domain (such as [email protected]) establishes immediate trust and brand authority.
A custom email address ensures that every communication reinforce your brand identity across client touchpoints.
+-----------------------------------------------------------------------+
|                     ENTERPRISE EMAIL PROTOCOLS                        |
+-----------------------------------------------------------------------+
|  1. MX Records   : Directs incoming emails to mail servers            |
|  2. SPF Record   : Specifies authorized email sending IPs             |
|  3. DKIM Key     : Cryptographically signs outgoing messages          |
|  4. DMARC Policy : Instructs servers on unauthenticated mail actions |
+-----------------------------------------------------------------------+
Essential DNS Email Authentication Protocol Setup
Setting up an email account involves more than creating a inbox login. To guarantee high inbox deliverability and prevent spam filters from blocking your messages, you must configure key authentication records in your DNS zone:
- Mail Exchange (MX) Records: Specifies the destination mail servers responsible for accepting incoming email messages on behalf of your domain name.
- Sender Policy Framework (SPF): A TXT record listing all server IP addresses authorized to send emails using your domain, preventing unauthorized email spoofing.
- DomainKeys Identified Mail (DKIM): Attaches an encrypted digital signature to outgoing mail headers to verify message integrity upon recipient arrival.
- Domain-based Message Authentication, Reporting, and Conformance (DMARC): Defines enforcement rules for mail receivers when SPF or DKIM checks fail, protecting your domain reputation.
Uncover the full strategic and security advantages of dedicated email suites in our complete analysis on Why Your Business Needs a Professional Email.
3. Install an SSL Certificate (Enable HTTPS)
Security is a primary requirement for web operations. Installing a Secure Sockets Layer (SSL) certificate encrypts all traffic passing between a user's browser and your web server, protecting sensitive client data, login credentials, and transaction records.
When an SSL certificate is active, your web address protocol updates from http:// to https://, accompanied by a security padlock symbol in browser address bars.
+-----------------------------------------------------------------------+
|                        SSL/TLS ENCRYPTION FLOW                        |
+-----------------------------------------------------------------------+
|  User Browser  <=== Encrypted HTTPS Stream (Port 443) ===>  Server     |
|                                                                       |
|  - Data Privacy Protected (TLS 1.3)                                   |
|  - Prevents Man-in-the-Middle Attacks                                 |
|  - Eliminates "Not Secure" Browser Warnings                           |
+-----------------------------------------------------------------------+
Why SSL Enforcement Is Mandatory
- User Trust: Modern browsers display prominent "Not Secure" warnings when visitors land on unencrypted HTTP pages, causing immediate site abandonment.
- Search Engine Optimization: Search engines utilize HTTPS encryption as a active ranking factor. Unencrypted sites suffer ranking penalties in search result pages.
- Payment Compliance: Operating e-commerce checkout systems without SSL encryption violates PCI-DSS security standards.
Most enterprise web hosts offer automated free Let's Encrypt SSL certificates or options to deploy wildcard certificates for multi-subdomain environments. Always ensure your server settings enforce automatic HTTP-to-HTTPS redirection across all incoming traffic.
4. Build Your Business Website
With hosting linked, professional email routing configured, and SSL security active, you are ready to construct your website. Your website acts as your digital sales engine, conveying your value proposition and guiding visitors toward conversions.
Selecting the proper development architecture depends entirely on your operational goals, technical budget, and scalability requirements.
+-----------------------------------------------------------------------+
|                    WEBSITE DEVELOPMENT PATHWAYS                       |
+-----------------------------------------------------------------------+
|  Path A: Content Management Systems (WordPress / Native Blocks)       |
|          Ideal for business sites, blogs, and custom dynamic content  |
|                                                                       |
|  Path B: E-Commerce Frameworks (Custom Django / WooCommerce)          |
|          Engineered for scalable product catalogs and transactions    |
|                                                                       |
|  Path C: Custom Web Applications (Python / Django Framework)          |
|          Bespoke enterprise portals, SaaS platforms, and workflows    |
+-----------------------------------------------------------------------+
Choosing the Right Technical Framework
- WordPress Architecture: Powers a massive portion of the web. When engineered natively using custom block structures rather than bloated drag-and-drop builders, WordPress delivers outstanding speed, content flexibility, and robust search optimization potential.
- Custom Applications: For business models requiring custom database relationships, high-security portals, or proprietary software workflows, building offers unmatched security and performance.
Design Principles for Commercial Success
- Mobile First Responsiveness: Ensure your site layout adapts seamlessly across smartphone screens, tablets, and desktop displays.
- Lightning Performance: Optimize media file sizes, leverage browser caching, and implement clean code execution to maintain fast loading speeds.
- Clear Call to Action Structures: Guide every visitor toward a specific goal, whether scheduling a call, filling out a contact form, or purchasing a product.
Planning your development budget requires understanding market pricing structures. Read our comprehensive analysis on How Much Does It Cost to Build a Website in India? to align your project scope with realistic cost expectations.
5. Set Up Your Google Business Profile
For enterprises serving regional clients or operating physical locations, claiming and configuring a Google Business Profile is a high-priority step. This free tool connects your custom domain directly to Google Maps and local search packs.
+-----------------------------------------------------------------------+
|                  LOCAL SEARCH INTEGRATION ECOSYSTEM                   |
+-----------------------------------------------------------------------+
|                                                                       |
|    [ Google Business Profile ]  <== Sync ==>  [ Custom Domain ]       |
|                 |                                    |                |
|                 v                                    v                |
|    (Google Maps Placement)                  (Local Organic Rank)      |
|                                                                       |
+-----------------------------------------------------------------------+
Step-by-Step Google Business Profile Setup
- Claim Your Entity: Visit the Google Business Profile manager and search for your official business name.
- Input Address Details: Specify your exact physical address or define your geographic service boundaries.
- Attach Your Custom Domain: Link your newly registered, HTTPS-encrypted website URL to your profile listing.
- Complete Ownership Verification: Perform Google's required verification process via postcard, phone call, or video verification.
- Optimize Category and Visuals: Add relevant primary categories, business operating hours, high-resolution logo files, and office photographs.
Maintaining consistent Name, Address, and Phone details across your Google Business Profile and website footer builds strong regional search authority.
6. Submit Your Sitemap to Google Search Console
Search engines use automated web crawlers to discover, index, and evaluate new web pages. However, waiting for crawlers to discover your site organically can take weeks. Submitting your XML sitemap directly to Google Search Console accelerates indexation.
Google Search Console acts as a primary communication bridge between your web infrastructure and search algorithms, providing data regarding site performance, index status, and technical errors.
+-----------------------------------------------------------------------+
|                 SEARCH ENGINE INDEXATION WORKFLOW                     |
+-----------------------------------------------------------------------+
|  1. Generate XML Sitemap (e.g., yourdomain.com/sitemap.xml)           |
|  2. Add & Verify Domain Property in Google Search Console             |
|  3. Submit Sitemap URL Endpoint in Console Dashboard                   |
|  4. Crawlers Process Pages & Add Clean Content to Search Index        |
+-----------------------------------------------------------------------+
Steps to Verify and Submit Your Site
- Create a Search Console Property: Log into Google Search Console and add a new Domain property using your root address.
- Complete DNS Ownership Verification: Copy the TXT verification string provided by Google and paste it into your domain DNS zone editor.
- Generate an XML Sitemap: Utilize your native CMS framework or custom development build to output a dynamic
sitemap.xmlfile. - Submit Sitemap Endpoint: Navigate to the Sitemaps tab in Search Console, enter your sitemap file URL, and click submit.
Regularly inspecting your Search Console dashboard allows you to catch and resolve crawl errors, broken internal links, or indexing issues before they affect search visibility.
7. Complete the Technical SEO Foundation Checklist
Launching a website without proper search engine optimization is like printing business cards and keeping them in a desk drawer. Executing a basic technical SEO checklist during site setup ensures search engines interpret your content context cleanly.
+-----------------------------------------------------------------------+
|                    TECHNICAL SEO BASIC CHECKLIST                      |
+-----------------------------------------------------------------------+
|  [ ] Page Title Tags        : Unique, keyword-focused under 60 chars  |
|  [ ] Meta Descriptions      : Compelling summary under 150 chars      |
|  [ ] Heading Hierarchy      : Single H1 tag per page, logical H2/H3s  |
|  [ ] URL Slugs              : Concise, hyphen-separated readable URLs |
|  [ ] Image Optimization     : WebP formats, compressed files, alt text|
|  [ ] Analytics Integration  : Google Analytics 4 tracking script setup|
+-----------------------------------------------------------------------+
Key Technical SEO Optimization Steps
- Title Tag Optimization: Ensure every published page features a unique title tag that includes primary industry keywords and your brand name.
- Meta Description Precision: Write clear meta descriptions under 150 characters that encourage users to click from search engine result pages.
- Structured Data Implementation: Add Schema markup (such as Organization, LocalBusiness, or WebSite schema) to help search crawlers and AI answer engines understand your commercial entity.
- Google Analytics 4 Setup: Install GA4 tracking tags on your site to monitor traffic volumes, user behavior patterns, and conversion channels.
8. Claim Matching Social Media Handles
Brand consistency across digital channels reinforces authority and prevents competitors or bad actors from impersonating your business. As soon as your domain is secured, claim matching brand handles across all major social networks.
Even if you do not plan to publish content on every social channel immediately, holding your official handles protects your brand equity.
+-----------------------------------------------------------------------+
|                     BRAND CHANNEL SYNC MATRIX                         |
+-----------------------------------------------------------------------+
|  Primary Website  : https://yourbrand.com                             |
|  LinkedIn Entity  : linkedin.com/company/yourbrand                    |
|  X (Twitter)      : x.com/yourbrand                                   |
|  Instagram Profile: instagram.com/yourbrand                           |
|  YouTube Channel  : youtube.com/@yourbrand                            |
+-----------------------------------------------------------------------+
Incorporate your main website link and professional email into your social media bios to route social discovery back to your central domain asset.
9. Domain Security and Administrative Protection
Your domain name is an intellectual property asset that appreciates in value over time. Protecting your domain from unauthorized access, accidental expiration, or domain hijacking requires strict administrative protocols.
+-----------------------------------------------------------------------+
|                    DOMAIN PROTECTION PROTOCOLS                        |
+-----------------------------------------------------------------------+
|  1. Auto-Renewal Status   : Prevents accidental domain expiration     |
|  2. Registrar Transfer Lock: Blocks unauthorized domain transfers     |
|  3. Two-Factor Auth (2FA) : Secures registrar account access         |
|  4. WHOIS Privacy Guard   : Hides registrant personal details         |
+-----------------------------------------------------------------------+
Best Practices for Domain Security
- Enable Automatic Renewal: Set your domain to auto-renew annually using an active payment card. Domain expiration causes immediate service blackouts and exposes your domain to aftermarket squatters.
- Activate Registrar Transfer Lock: Enable the transfer lock setting inside your registrar portal. This lock blocks unauthorized attempts to transfer your domain to a different registrar.
- Enforce Two-Factor Authentication: Require 2FA authentication on your registrar account login to protect against credential breaches.
- Maintain WHOIS Privacy Protection: Keep WHOIS privacy protection active to mask personal phone numbers and corporate email addresses from public scraping lists.
Post-Domain Purchase Action Matrix
This practical action matrix outlines the post-domain setup sequence, recommended tools, and target execution timelines for business owners:
| Setup Step | Primary Objective | Recommended Tools / Services | Target Timeline |
| 1. Connect Hosting | Link domain to server IP | DNS Zone Editor, Anycast DNS | Days 1 - 2 |
| 2. Setup Email | Enable professional inbox | Google Workspace, Microsoft 365 | Days 1 - 2 |
| 3. Install SSL | Encrypt site traffic | Let's Encrypt, Commercial SSL | Day 2 |
| 4. Build Website | Launch dynamic storefront | Native WordPress, Django Build | Days 3 - 20 |
| 5. Claim Local GBP | Capture regional search | Google Business Profile | Days 5 - 10 |
| 6. Console Setup | Submit sitemap to Google | Google Search Console | Post-Launch |
| 7. Basic SEO Setup | Optimize meta and analytics | GA4, Schema Markup | Post-Launch |
| 8. Sync Handles | Reserve social profiles | LinkedIn, X, Instagram | Days 1 - 3 |
| 9. Security Lock | Protect domain ownership | Registrar Privacy, Auto-Renew | Day 1 |
Turn Your Domain into a High-Performing Digital Asset with TenG Spectrum
Purchasing a domain name is the first step in establishing your digital footprint. Transforming that address into a high-speed, secure, and revenue-generating digital asset requires expert technical execution, modern web design, and disciplined search engine strategy.
At TenG Spectrum, we partner with growing enterprises and ambitious founders to engineer premium web solutions. Operating remotely with a high-performance delivery model, we design custom Native WordPress platforms, scalable Django web applications, and technical SEO frameworks tailored to accelerate commercial growth..
Ready to transform your newly purchased domain into an authoritative website? Contact the engineering and strategy team at TenG Spectrum today to discuss your website development, technical SEO, or digital strategy needs, and let us build a high-performance web presence for your business.
Frequently Asked Questions
Find quick answers to common questions about this topic