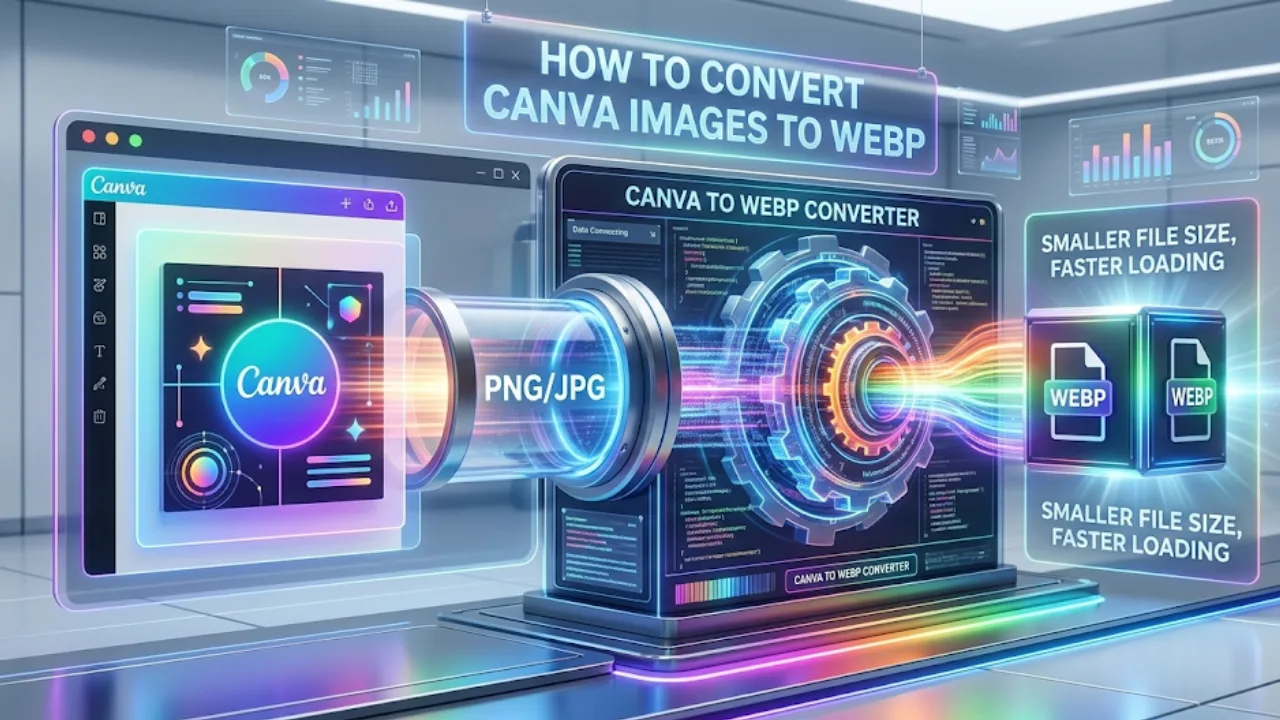
Canva is an indispensable tool for businesses, marketers, and content creators. Its user-friendly interface allows anyone to create professional-looking graphics for websites, social media, and marketing materials. However, if you're a website owner, you might have noticed a significant drawback: you can't export your stunning Canva designs in the WebP format.
For years, we've relied on JPG and PNG files for our web images. While these formats have served us well, they are no longer the most efficient choice for modern websites. In an age where website speed directly impacts user experience and search engine rankings, using outdated image formats can hold you back.
This is where WebP comes in. Developed by Google, WebP is a modern image format that provides superior lossless and lossy compression for images on the web. In simple terms, WebP images are significantly smaller in file size than their JPG and PNG counterparts, without sacrificing quality. This means your website will load faster, your visitors will be happier, and search engines will reward you with better rankings.
This comprehensive guide will walk you through the simple two-step process of converting your Canva designs to WebP, so you can start reaping the benefits of this next-generation image format.
What is Canva?
For those new to the platform, Canva is an online graphic design tool that empowers users to create a wide array of visual content. From social media graphics and presentations to posters and website banners, Canva's intuitive drag-and-drop interface and vast library of templates, images, and design elements make it a go-to resource for millions.
Why You Should Ditch JPG and PNG for WebP
Before we dive into the "how," let's talk about the "why." You might be wondering what's wrong with the familiar JPG and PNG formats.
- JPG (or JPEG): This is a lossy compression format, which means that some image data is discarded to reduce file size. While this is great for photographs, it's not ideal for graphics with sharp lines and text, as it can result in a loss of quality.
- PNG: This is a lossless compression format, meaning it retains all the image data. This makes it perfect for graphics and logos, but it often results in larger file sizes, which can slow down your website.
WebP, on the other hand, offers the best of both worlds. It supports both lossy and lossless compression, and its advanced compression algorithms mean that even lossy WebP images often look better than their JPG equivalents at a fraction of the file size.
How to Save Images as WebP in Canva: A Step-by-Step Guide
Since Canva doesn't have a direct "Save as WebP" option, we'll use a simple workaround. Here’s how to do it:
Step 1: Download Your Design from Canva
- Log in to your Canva account and open your design.
- Once your design is finalized, click the "Share" button in the top-right corner of the editor.
- From the dropdown menu, select "Download."
- In the "File type" dropdown, choose either PNG or JPG. If your design has a transparent background, you'll need to select PNG.
- Click the "Download" button to save the file to your computer.
Step 2: Convert Your Image to WebP
Now that you have your design saved as a PNG or JPG, it's time to convert it to WebP. There are many online tools that can do this, but we recommend a reliable and user-friendly option like Image to webp , FreeConvert.
Here's how to use it:
- Go to the FreeConvert WebP converter website.
- Click the "Choose Files" button and select the image you downloaded from Canva.
- The tool will automatically start the conversion process.
- Once the conversion is complete, click the "Download" button to save your new WebP image.
And that's it! You now have a high-quality, low-file-size WebP image ready to be uploaded to your website.
Key Points to Consider
- Quality vs. File Size: When using a converter, you may have the option to adjust the compression settings. For most web uses, a lossy compression setting will provide the best balance of quality and file size.
- Compatibility: While WebP is now supported by all modern browsers, it's always a good idea to have a fallback option for users on older browsers. Many content management systems (CMS) like WordPress have plugins that can automatically handle this for you.
- Conversion Tools: Always use reputable conversion tools to avoid any loss of image quality.
Mistakes to Avoid
- Using Low-Quality Conversion Tools: Unreliable converters can degrade your image quality, defeating the purpose of using WebP in the first place.
- Ignoring Compatibility: Before you convert all your images to WebP, make sure your website or application can handle them correctly.
Conclusion
While Canva may not yet offer native WebP support, the simple two-step process outlined in this guide allows you to take full advantage of this powerful image format. By converting your Canva designs to WebP, you'll not only improve your website's performance but also provide a better experience for your visitors and boost your SEO.
Take Your Website to the Next Level
Optimizing your images is just one part of building a high-performing website. If you're looking to enhance your online presence and create a website that is not only visually stunning but also technically sound, the team at Website Development Teng Spectrum can help. We specialise in creating fast, secure, and SEO-friendly websites that drive results. Contact us today for a consultation and let's build something amazing together.
Frequently Asked Questions
Find quick answers to common questions about this topic
